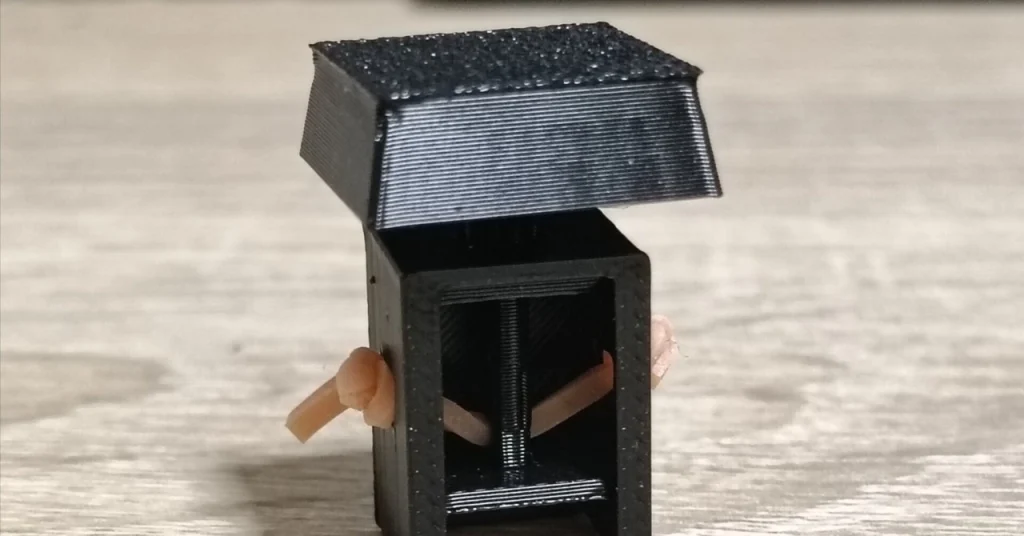
Hello, I’m "Naoshimu," currently experimenting with building a DIY crane game using a 3D printer. For the controller, I decided to 3D print the button switches. This post outlines my design approach and solutions to challenges encountered in 3D printing, such as part bindings and surface roughness.
Insights from Existing 3D-Printed Switches
Initially, I printed button switches from various 3D data sharing platforms. Many of these models featured a singular construction where the spring mechanism was also made from material like PLA. However, I found these designs stiff and uncomfortable to use. Since PLA is rigid and doesn’t flex well, I concluded that relying solely on a 3D printer was limiting. Instead, I opted to use rubber bands to create the necessary flexibility for my switch mechanism.
Structural Design in FreeCAD
I used FreeCAD to model a two-part design, consisting of an "outer housing" and an "inner moving part" shaped like the kanji character for "soil" (土).
- Equipment and Environment:
- Printer: Bambu Lab A1 mini
- Filament: PLA
- Nozzle diameter: 0.4mm
- Layer height: 0.2mm
In this mechanism:
- Pressed: The base of the "soil" shape strikes the bottom of the housing and halts.
- Released: The tension from the rubber band returns the inner part, allowing the horizontal bar to hit the top of the housing.
I integrated aluminum foil as the conduction mechanism, ensuring that electricity flows only when the button is pressed, creating a satisfying tactile feedback.
Overcoming Assembly Challenges
1. Avoiding Rubber Caught During Assembly
While assembling, the rubber band often got stuck between parts.
- Solution: I added notches in the design to guide the rubber band, allowing for a smooth assembly process.
2. Layer Line Snags
I faced issues where the layer lines created resistance during the button’s movement. Changing the print orientation helped, but the new vertical positioning of the overhangs led to rough surfaces.
- Solution: Rather than attempting to fix the rough surface, I realized it was unnecessary and removed it from the design. This change allowed for smoother operation and an efficient build process.
Conclusion
This project highlighted the joy of hands-on experimentation and the importance of material characteristics in design. The button switch I’ve created will be integrated into the crane game controller I’m building. I look forward to sharing my progress in the future.