For the past few months, I have been exploring the world of 3D printing using the Bambu Labs A1 3D printer. This large and somewhat noisy machine transforms digital designs into tangible objects on my desktop. The journey began with an initial learning phase covering various printer types, basic settings in the Bambu Studio app, and successfully printing useful items from downloaded files.
In this second installment, I’m sharing valuable lessons from my first significant project: crafting upgrade parts for the A1 using its own capabilities. Throughout this process, I encountered early 3D printing errors that sparked a deeper understanding of filament types and their compatibility with an open-bed printer like the A1.
The Quest for Practicality
My initial projects included a simple holder for a ceiling fan remote and a wall-mounted holder for my gaming accessories, quickly showcasing the printer’s abilities. These early successes fueled my desire to explore more complex prints, specifically parts that could enhance the A1’s functionality.
In addressing an issue with purging—where excess filament is ejected during printing—I decided to create what’s informally known as a “poop bucket” or purging bucket to collect the discarded material. With this modification, I was primed for my first substantial printing task of fabricating various parts to upgrade the printer itself.
Upgrading the A1
Guided by online resources, including YouTube videos, I printed several components:
-
Bambu Lab AMS Lite Top Mount and Z-Axis Stiffener: This assembly allows the AMS Lite, which facilitates multi-color printing, to sit atop the A1, conserving desk space.
-
A1 Purge Waste Bin and Deflector: A straightforward waste container design that catches the purged filament efficiently.
-
A1 Rectangular Fan Cover: A simple design protecting the fan on the A1’s print head.
-
Bambu A1 Adjustable Camera Holder: Offers a more advantageous camera position for monitoring prints, though it involves a bit of disassembly.
-
A1 Screen Protector: Protects the printer’s LCD screen when not in use.
-
A1 X-Axis Cover: A dust cover for the printer’s exposed rail.
-
Ultimate Filament Spool Enclosure for the AMS Lite: A user-developed solution to house filament spools and maintain a controlled environment.
-
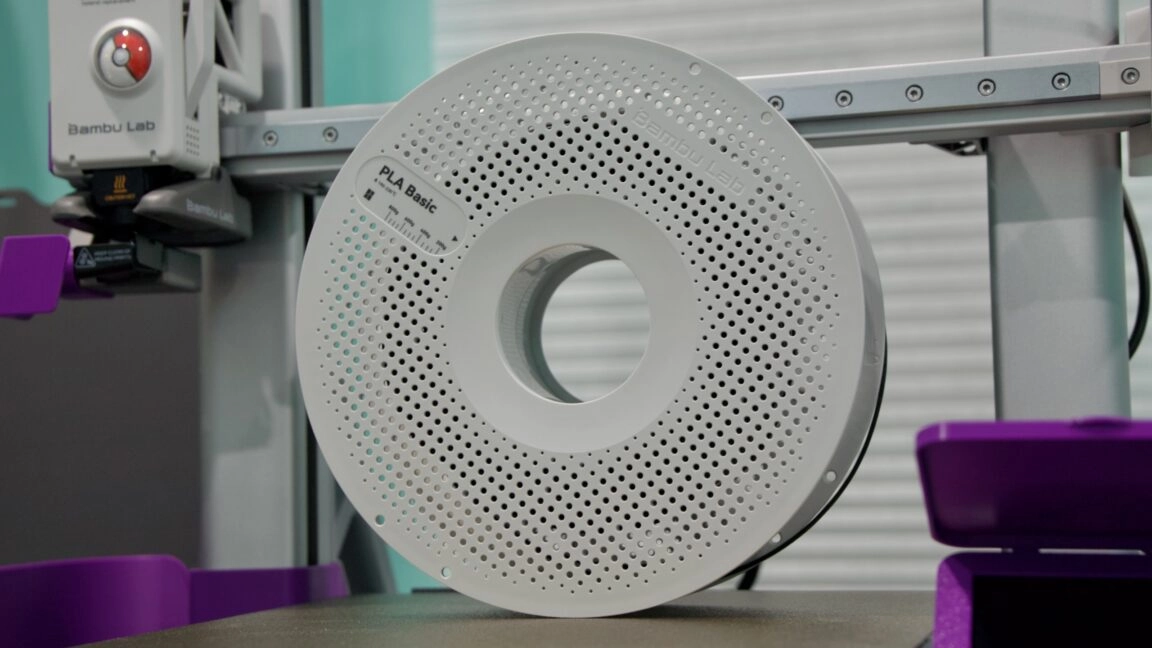
3D Disc for A1 – "Pokéball": A cosmetic upgrade for the printer head.
-
Sturdy Modular Filament Spool Rack: Organizes multiple filament spools neatly.
As I modeled and printed each component, I learned the importance of filament types and their effects on print quality.
Lessons from Mistakes
My journey was not without its challenges. Initially, I tried printing parts with ABS filament, only to discover that it warps easily on an open-bed printer, resulting in failed prints. This led me to experiment with PLA, but I faced issues with inadequate infill strength. After some trial and error, switching to PETG proved to be a more robust choice, suitable for outdoor use and functional parts.
However, printing with PETG also required more nuanced settings. From adjusting the nozzle size to controlling the ambient moisture around the filament, I continually adapted to improve the outcome of my prints. These adventures underscored the reality that hands-on experience, combined with diligent research, is the best teacher in the world of 3D printing.
Understanding Different Plastics
During my exploration, I became familiar with various plastics commonly used in 3D printing:
-
PLA (Polylactic Acid): Popular for its ease of use, affordability, and diverse color options, though less durable in extreme conditions.
-
PETG (Polyethylene Terephthalate Glycol): Offers greater strength and flexibility, making it more suitable for load-bearing applications.
-
ABS (Acrylonitrile Butadiene Styrene): Known for its durability and heat resistance; however, it poses printing challenges on open-bed setups and emits fumes that require proper ventilation.
-
TPU (Thermoplastic Polyurethane): Valued for its flexibility, though slower print speeds are necessary for successful outcomes.
As I navigate this vibrant 3D printing community, sharing my findings aims to demystify the process for others who may be contemplating their own foray into this fulfilling hobby.
What’s Next?
The vast potential of 3D printing lies in its versatility—from organization solutions to artistic projects. As I consider my next steps, I plan to focus on solving practical issues around the house or diving into fun creative tasks. In the final part of my journey, I’ll explore the valuable insights gained from fellow home printers, showcasing projects that inspire and invigorate the 3D printing community.
For more in-depth ideas on 3D printing, you can find additional resources to expand your knowledge and creativity.