1:15 pm October 8, 2024 By Julian Horsey
If you’re considering the construction of your own desktop robotic arm and found inspiration from the project shared yesterday, which guided you through crafting a mini robotic arm utilizing Arduino, this new endeavor merges creativity with technical know-how. It provides an engaging experience to enhance your robotics knowledge while allowing your imagination to flourish. By leveraging 3D printing technology, servo motors, and Arduino programming, you’ll be able to construct a robotic arm that follows your commands through an advanced software interface, affording you unmatched opportunities for customization and experimentation.
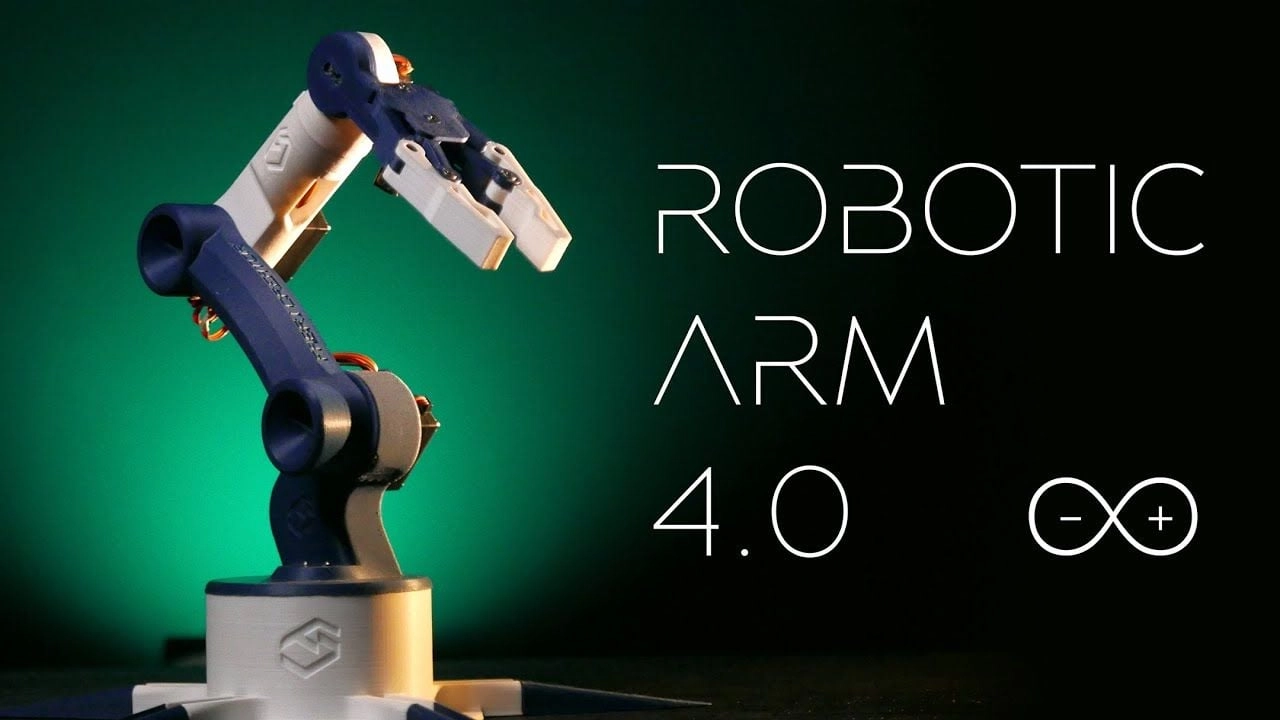
The essence of this undertaking is a thoughtfully designed robotic arm that is 3D printed, brought to life through the collaboration of Arduino and servo motors. With a user-friendly interface at your disposal, you gain command over every motion of the arm, ranging from accurate positioning to seamless movement sequences. This interface allows you to save, replay, export, and import positions, providing you the ability to explore diverse movement patterns and tailor the arm’s functions to meet your specific needs.
Start your creative adventure by designing and simulating the 3D model of your robotic arm. This vital phase guarantees that every part integrates perfectly, creating a cohesive and effective system. Whether you prefer to personalize the arm’s look or opt to print it in its original form, you’ll be equipped with meticulously crafted design files that lay the groundwork for your project. The assembly process is designed to be straightforward, supported by clear guides that lead you through the details of connecting and securing each element. By carefully adhering to these instructions, you’ll ensure that your robotic arm functions smoothly and is prepared to perform any tasks you assign to it.
Here are some additional articles from our extensive content library that you might find interesting regarding robot arms:
The control center of your robot arm is the Arduino Uno, which links the software interface to the hardware components. With comprehensive instructions that help you connect servo motors and other parts to the Arduino, you’ll gain a profound understanding of the complexities involved in bringing your project to life. Organizing and threading cables properly throughout the arm’s structure is essential for a tidy and efficient design, ensuring dependable performance and simple maintenance. By mastering these connections, you establish a foundation for a robotic arm that reacts to your every command with both accuracy and elegance.
A special application, compatible with both Windows and Linux, puts control of your robot arm right at your fingertips. This robust software offers various features, including manual control, movement saving, replay, and speed adjustment, allowing you to create and perform intricate motion patterns effortlessly. Its open-source nature allows you to delve into the code, personalize the interface, and modify it to fit your unique requirements. This transparency promotes innovation and inspires you to explore the full potential of your robotic arm.
For peak performance, your robot arm needs a 5V 3 amp adapter to ensure a consistent power supply for smooth operation. The five-legged base provides a solid grounding, preventing any movement and allowing for precise control during usage. This stability is fundamental to your robotic arm’s accuracy and dependability, enabling you to carry out tasks with unwavering confidence and precision.
Your desktop robotic arm project boasts a reset function, enabling you to eliminate saved positions and commence fresh movement patterns. This functionality promotes experimentation and exploration, allowing you to continuously enhance and refine your robot arm’s features. The initiative benefits from user insights and participation, creating a collaborative atmosphere where ideas flourish and advancements are achieved. By engaging in this community-oriented aspect, you join a worldwide network of robotics enthusiasts, united in the pursuit of pushing the limits of what can be achieved.
Assembling a desktop robot arm with Arduino presents a remarkable journey that merges cutting-edge technologies with practical skills. By adhering to the provided steps and utilizing the available tools, you’ll develop a customizable and interactive robotic system that acts as both a robust educational resource and a functional apparatus. As you embark on this adventure, you will not only acquire a deeper knowledge of robotics but also unleash your creative potential, paving the way for a future brimming with innovation and infinite possibilities. To explore more about the Arduino platform, visit the official Arduino website.
Media Credit: FABRI creator
Latest Geeky Gadgets Deals