After setting a New Year’s resolution to enhance my digital crafting skills, I eagerly jumped into the world of resin 3D printing. Although it’s only been a week since I unboxed my Elegoo Saturn 4 Ultra printer, the learning journey has been intense and rewarding, supported by numerous YouTube tutorials and hands-on experience.
Early on, I faced several challenges typical of resin printing, particularly with the slicing software and the need for different support structures. A crucial step is adding drainage holes to models to avoid cracking or even potential explosions during the printing process.
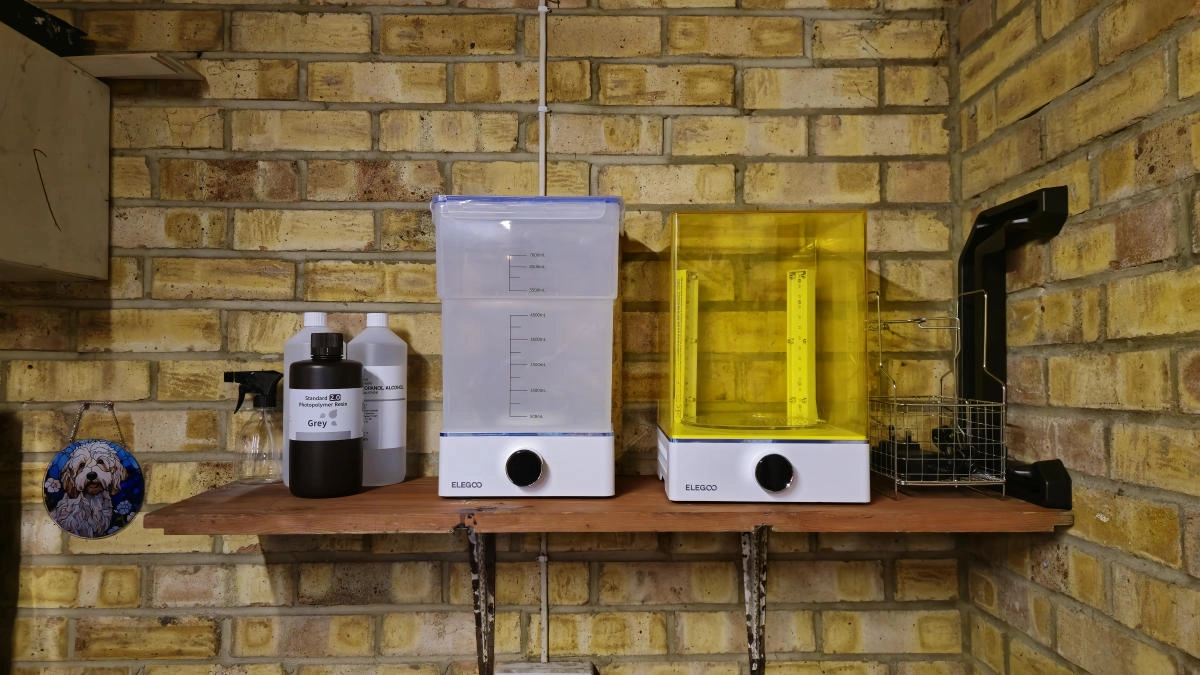
Having previously used FDM printers, transitioning to resin printing required an entirely new approach and workspace. To facilitate my new hobby, I repurposed my garage, ensuring it’s both well-ventilated and away from my main work area, as resin can emit harmful fumes. For safety, I’ve implemented strict protocols like wearing nitrile gloves and a respirator, ensuring my workspace remains clean and free of contamination.
When I started using the Elegoo Saturn 4 Ultra printer, I benefited from its beginner-friendly features, such as automatic bed leveling and an integrated AI camera for monitoring prints. The user interface is straightforward, making it easy to navigate through various options. An especially handy feature is the resin exposure test, which, while I’m still figuring out, is intended to optimize print results.
One of my first impressions of the Saturn 4 Ultra’s design is its robust construction, although I found some usability issues, like the absence of a handle for opening the printer lid, which isn’t ideal for working with gloved hands. Another concern is the optimal operating temperature; resin printing thrives around 25 degrees Celsius. Initially, my garage temperature was much lower, leading me to use an external heater to keep the printer warm.
My first printed model was a chess piece from the provided test options, which surprisingly came out well despite an overexposure on the first layer. Encouraged, I attempted a more complex Pokémon model next. Utilizing translucent resin, known for its relatively fast curing time, I adjusted the exposure settings accordingly, leading to successful prints, albeit with some slight yellowing due to over-curing.
While experimenting with different models, I experienced some failures, particularly during colder nights. Cleaning the build plate with Isopropyl alcohol and using the printer’s Vat Cleaning feature helped resolve these issues. Moving forward, I plan to invest in a mini heater to maintain a consistent temperature and explore resin dyes to enhance my projects creatively.
Overall, my inaugural week in resin printing has been exhilarating, filled with lessons and improvements. However, I expect this hobby might escalate into something rather costly, as I continue refining my techniques and expanding my toolkit.