What if you could design intricate 3D printable objects without any prior sculpting experience or expensive software? Thanks to advancements in AI technology, creating professional-grade 3D designs has become accessible to everyone. This guide showcases how artificial intelligence can translate your creative ideas into stunning models, be it futuristic helmets or elaborate decorative pieces. AI is now your ally, streamlining the design process and empowering innovators, seasoned makers, or beginners exploring 3D printing.
Step-by-step AI Design Process
Key Highlights:
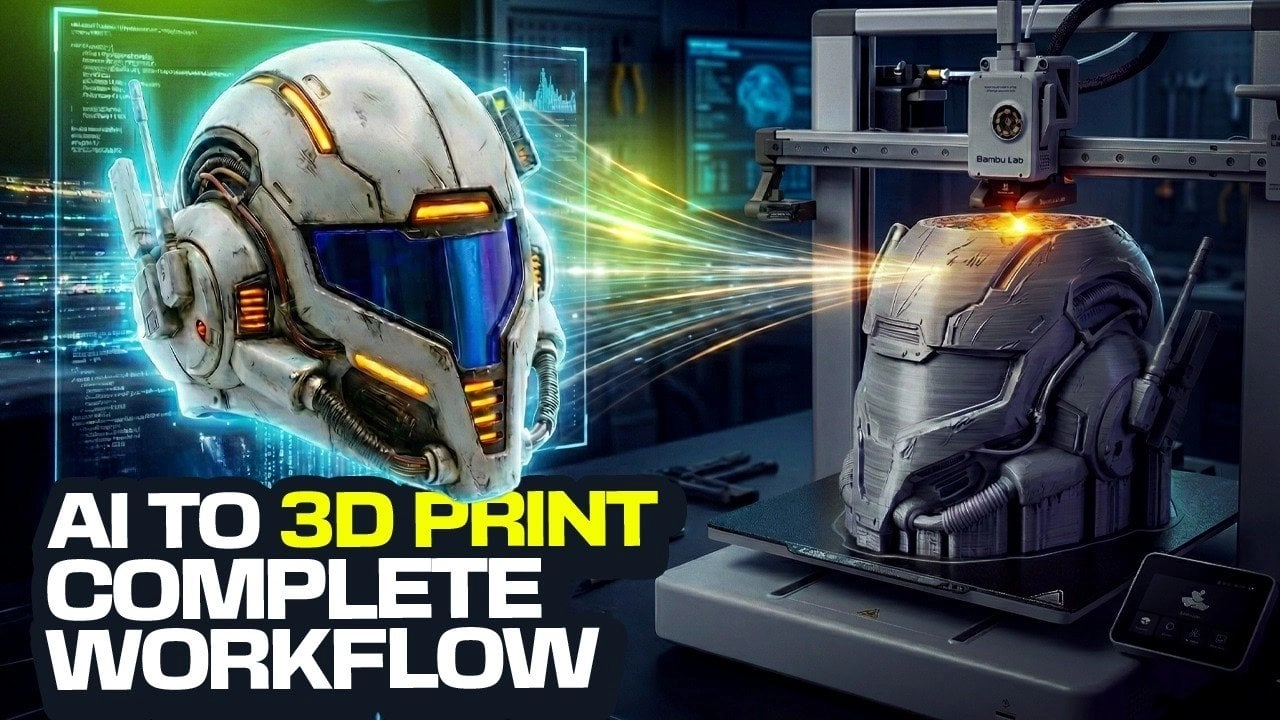
- Utilize AI tools such as Nano Banana, Trio 3D, Luben, and Bamboo Studio to simplify model creation without requiring prior skills.
- The design workflow consists of four core stages: generating designs, 2D-to-3D conversion, model preparation for printing, and optimizing printer settings.
- Precise prompt crafting is essential to achieve both functional and aesthetically pleasing designs. Tools aid in refining your creations.
- Techniques to minimize material waste and enhance durability while adding finishing touches are emphasized, ensuring high-quality, standout results.
Streamlined Workflow with AI
AI simplifies the complex process of model creation. Here’s the basic workflow:
- Generating AI Designs: Start with prompts to guide the AI.
- Converting 2D to 3D: Use tools to turn your sketches into detailed models.
- Preparing for Printing: Optimize models for successful prints.
- Optimizing Print Settings: Adjust printer parameters to enhance the quality.
Effective Prompt Crafting
The key to effective AI design lies in how well you construct your prompts. Be specific about your design elements, such as style and materials. For a helmet design, you might prompt:
- “A sleek, futuristic helmet with aerodynamic curves.”
- “A medieval knight’s helmet featuring detailed engravings.”
Experimenting with variations allows you to refine the AI’s output to better meet your vision.
Converting Designs
Once your concept is ready, transform it into a 3D model using tools like Trio 3D, which excels in preserving details and adding depth. Create orthographic views for consistency and ensure the final 3D model aligns closely with your design vision.
Preparing Models for 3D Printing
Models must meet technical requirements before printing. Luben helps by:
- Hollowing models to reduce weight
- Adjusting wall thickness for strength
- Adding ventilation for wearability
Post adjustments, use Bamboo Studio to refine designs and enhance print quality, ensuring success in the printing phase.
Fine-Tuning Print Settings
For high-quality results, set your 3D printer’s parameters carefully. Bamboo Studio allows you to manage:
- Layer height for smooth surfaces
- Infill density for strength versus material efficiency
- Support material placements for complex designs
Scaling models appropriately, particularly for wearable items, is crucial to avoid issues during printing.
Customization Possibilities
AI tools enable creative exploration and intricate customization. You can create unique designs, like Star Wars-themed helmets, by incorporating various elements into your prompts. Explore patterns, shapes, and textures to craft distinctive models that encapsulate both artistry and function.
Post-Processing Enhancements
After printing, enhance your model’s appearance with techniques like sanding and painting. For instance, a metallic finish can add a high-tech aesthetic, while weathered effects offer authenticity for historical designs. These touches elevate your 3D print from mere function to professional-level presentation, suitable for any application.
Conclusion
AI-powered tools are revolutionizing the way we approach 3D design and printing. By utilizing a structured workflow—ranging from crafting prompts to post-processing—you can effortlessly create sophisticated models tailored to your needs. Whether you’re a hobbyist or a professional, these innovations allow for an exploration of creative potentials in 3D printing, blending functionality with artistic expression.